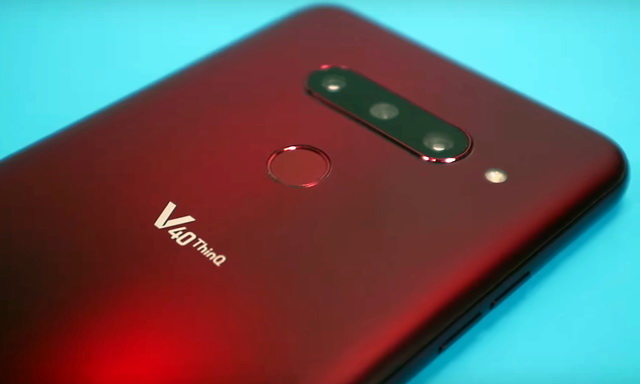
In this guide, you will learn how to wipe cache partition on LG V40 ThinQ. LG V40 ThinQ is a flagship smartphone that was launched back in 2018 and it has been around for more than 1.5 years now. Just like any other old smartphone, it is possible that you might be experiencing some performance issues in your v40. Wiping the cache partition can be a great solution to solve these performance issues and we will show you how to do it. Let’s get into it.
What is Cache?
Cache is the temporary data that is held by the apps for their functionality. It includes information such as your preferences, your login details, and other data. The apps use this data to ensure that you get a smooth performance.
What is Cache Partition?
Cache partition is the dedicated space in the memory where the cache resides. The system dedicates this space in the memory and it can only be used for storing the cache.
Cache Partition gets filled with unnecessary data over the months which can cause some performance issues in the long term. Many experts recommend wiping the cache partition once in a while to keep your smartphone in great condition.
How to wipe app cache on LG V40 ThinQ?
If you are facing some performance issues on a certain app then you can clear the cache of that certain app by using the following steps.
- Unlock your LG V40 ThinQ.
- Swipe down from the top of the screen and tap the gear-shaped icon to access the settings. Alternatively, go to the home screen, navigate to the Settings icon and tap it to access settings.
- Go to the Apps & Notification section.
- Then tap Apps and here you will find the list of all apps installed in your smartphone.
- Select the app, then tap Storage and tap Clear Cache.
- That’s it.
How to Wipe Cache Partition on LG V40 ThinQ
The whole process of wiping the cache partition on LG V40 is pretty simple and you can do it without any prior technical knowledge. Just follow these instructions and you are good to go.
- Turn off your LG V40 ThinQ.
- Press and hold the volume down key and the power key.
- Keep holding until the system recovery menu appears on the screen.
- You will use the volume up and down key for navigation. Power key for selection.
- Use the volume down key to navigate to “Wipe Cache Partition” and then select it using the power key.
- The system will ask you to confirm your action. Use the Volume down key to highlight “Yes” and then power key to confirm your action.
- The system will wipe the cache partition and then you reboot the device.
- That’s it.
Conclusion
That’s how you can wipe cache partition on LG V40 ThinQ. If you have any questions, please let us know in the comment section below. Also, if you want to learn how to take a screenshot on LG V40 ThinQ, then visit our website.


