
Ransomware has become an increasingly prevalent and damaging threat in the digital landscape. It can encrypt your files and hold them hostage until you pay a ransom. Windows 11 offers robust built-in security features to help protect your data. One of these features is ransomware protection, which safeguards your files from unauthorized encryption. In this article, we will guide you through the steps to enable ransomware protection on Windows 11, providing an additional layer of defense against this malicious threat.
QUICK ANSWER
To enable ransomware protection, open Windows Security, navigate to Virus & threat protection, click on “Manage ransomware protection,” and then turn on “Controlled folder access.”
Enable Ransomware Protection on Windows 11
To enable ransomware protection on Windows 11, you can follow these steps:
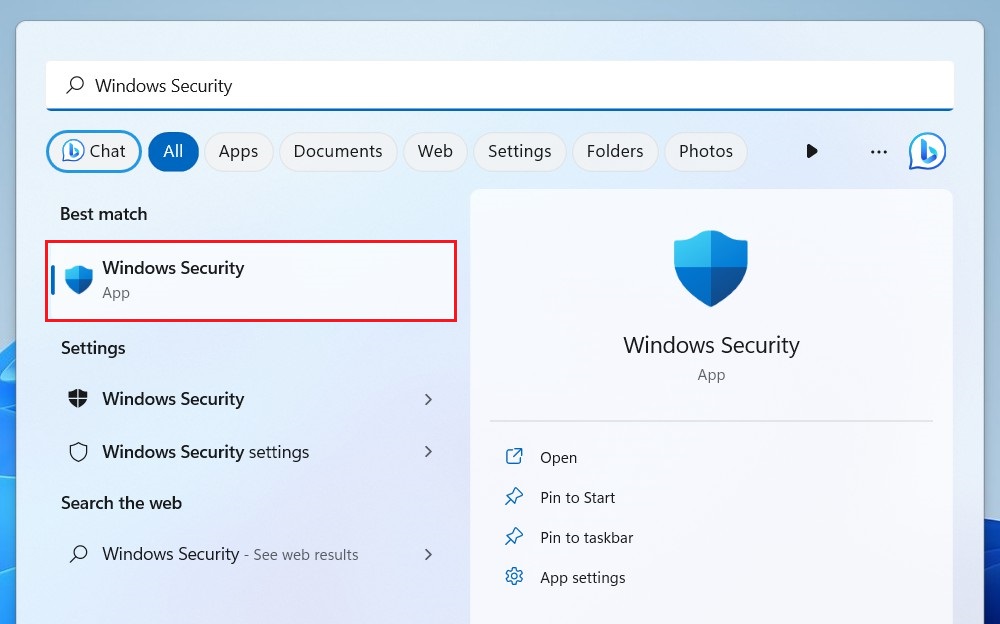
Click on the Start button and type “Windows Security” in the search bar. Once you see the Windows Security app in the search results, click on it to launch the application.
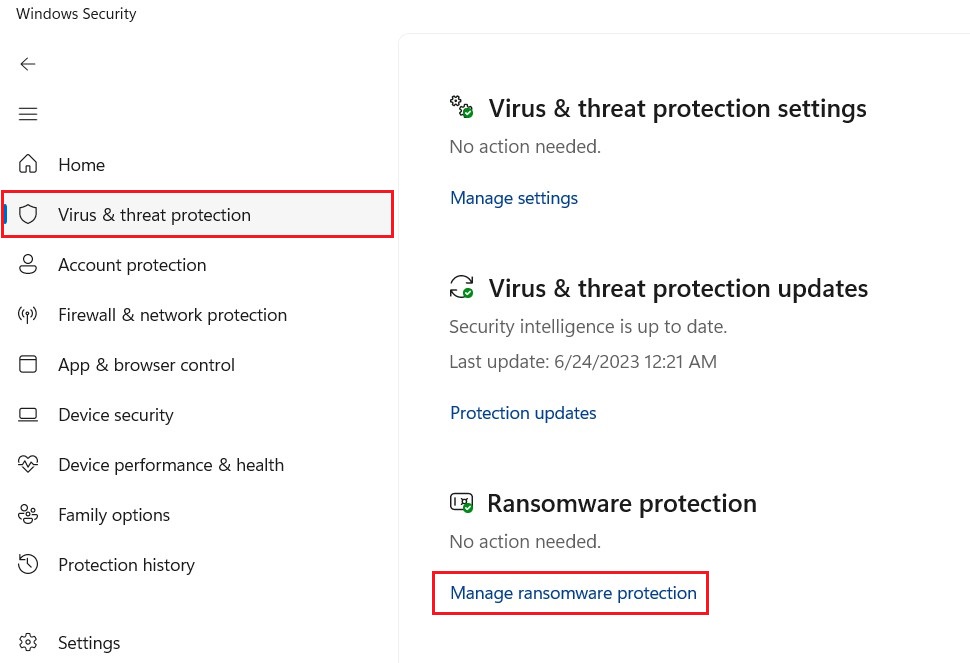
In the Windows Security window, click on Virus & threat protection. Under the “Ransomware protection” section, click on Manage ransomware protection.
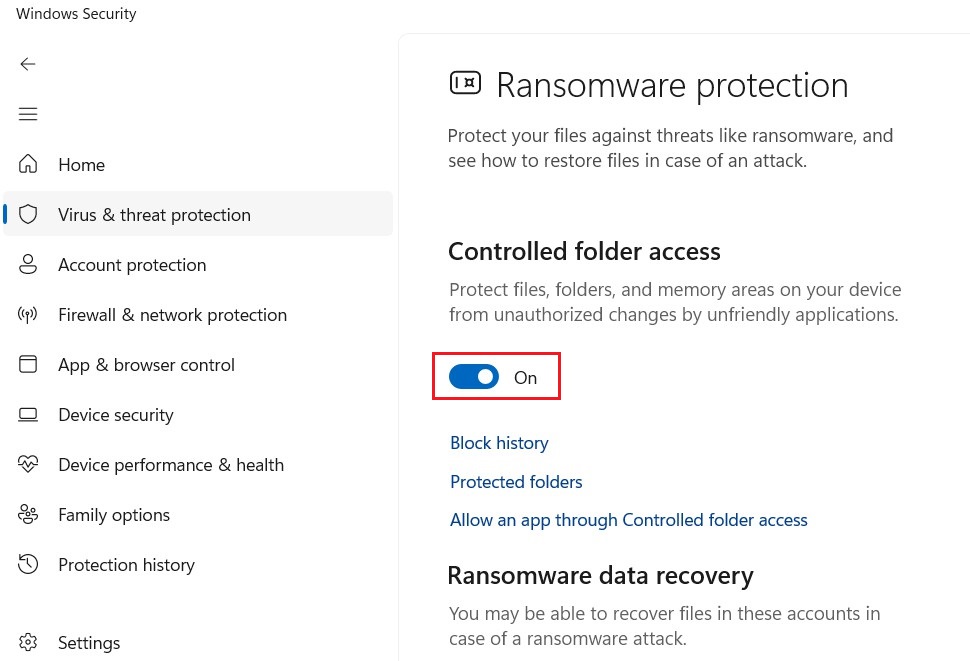
You will see the “Ransomware protection” settings. Make sure the toggle switch next to “Controlled folder access” is turned on. This feature helps protect specific folders from unauthorized changes.
Customize Protected Folders
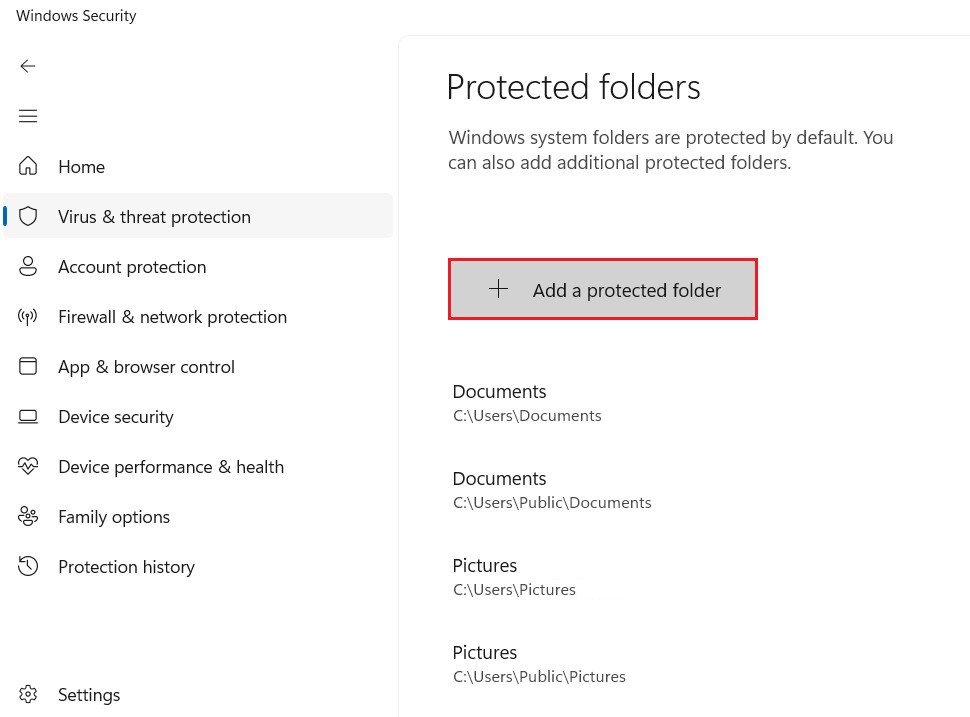
By default, certain folders like Documents, Pictures, and Videos are protected. If you want to add or remove additional folders, click on Protected folders.
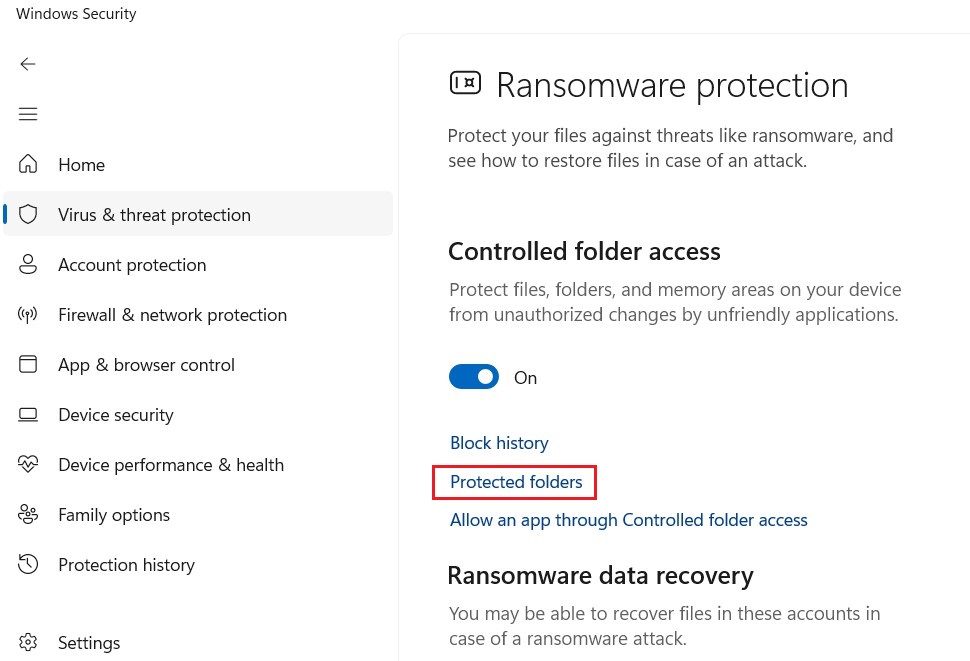
In the Protected folders window, you can add or remove folders by clicking on the “Add a protected folder” button respectively. Select the folders you want to protect and click OK to save the changes.
Allow apps ransomware protection
To allow an app through Controlled Folder Access on Windows 10, follow these steps:
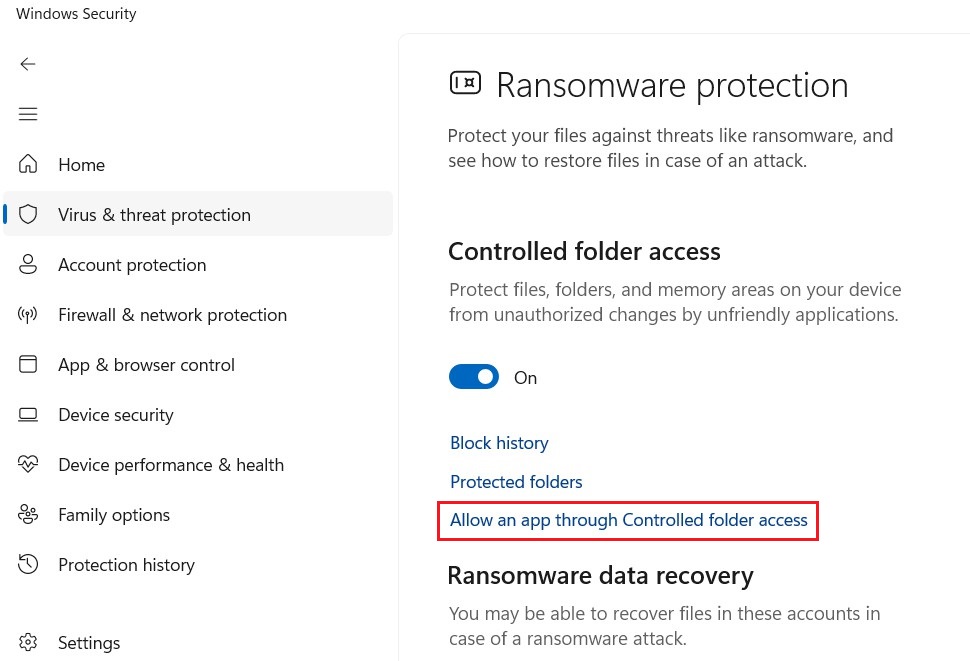
Open Windows Security, and click on Virus & threat protection in the left-hand menu. Under the “Ransomware protection” section, click on Manage ransomware protection.
On the next screen, click on the “Allow an app through Controlled folder access” option.
Click the “Add an allowed app” button and select the “Recently blocked apps” or “Browse all apps” options to select the app to allow.
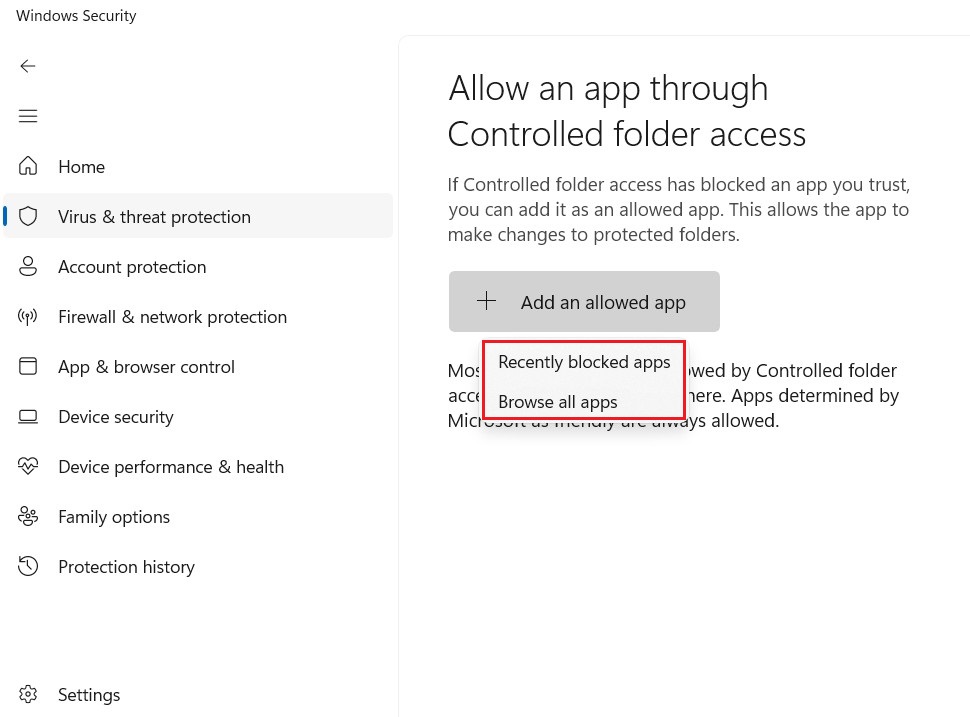
The app you added should now be allowed through Controlled folder access and will be able to access files in protected folders.
Read more: How to Disable Microsoft Defender Antivirus in Windows 11
Congratulations! You have successfully enabled ransomware protection on Windows 11. Windows Security will now help safeguard your files and folders from potential ransomware threats.


