
Monitoring your internet data usage is essential to avoid exceeding your data cap, understand your browsing habits, and optimize your internet usage. With the release of Windows 11, Microsoft has introduced new features and improvements, including enhanced data usage tracking capabilities. In this guide, we’ll show you how to track internet data usage in Windows 11, allowing you to stay informed and manage your data effectively.
How to Check Internet Data Usage in Windows 11
To view data usage on Windows 11, you can follow these steps:
- Open Settings, you can press the Windows key + I on your keyboard to directly open the Settings app.
- In the Settings window, click on Network & internet from the list of available options.
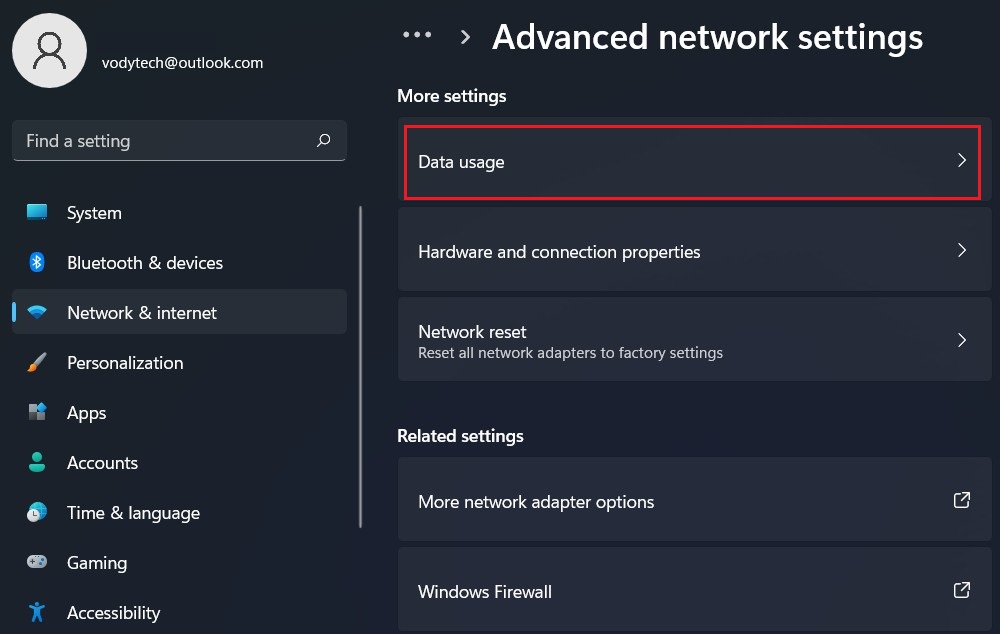
- Click the Advanced network settings page on the right side.
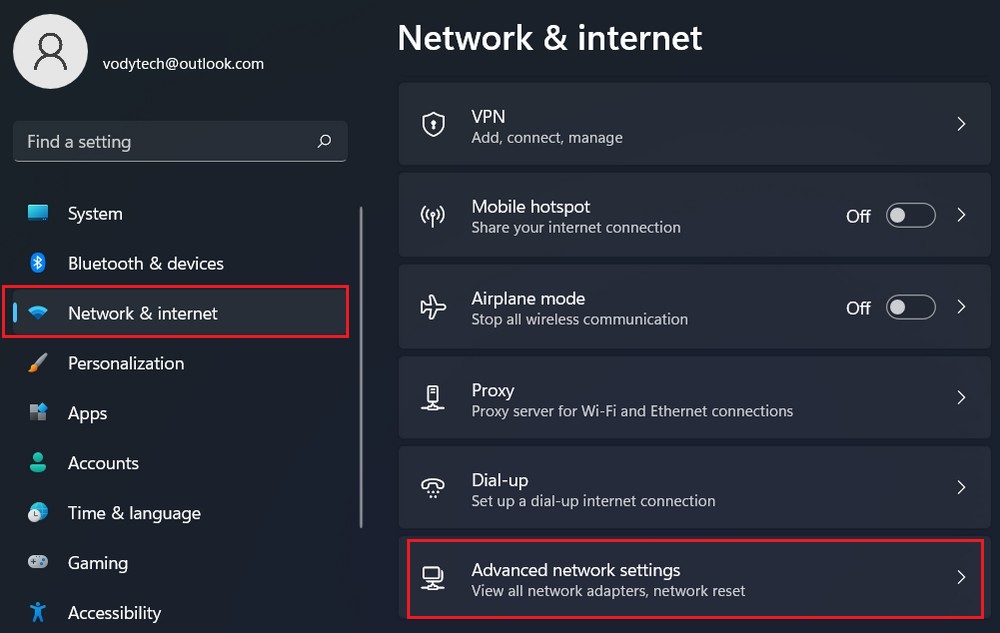
- Under the “More settings” section, select the Data usage setting.
- In the Data usage settings, you will find an overview of your data usage displayed at the top. It will provide you with information such as the amount of data used over a specified period, including Wi-Fi and Ethernet usage.
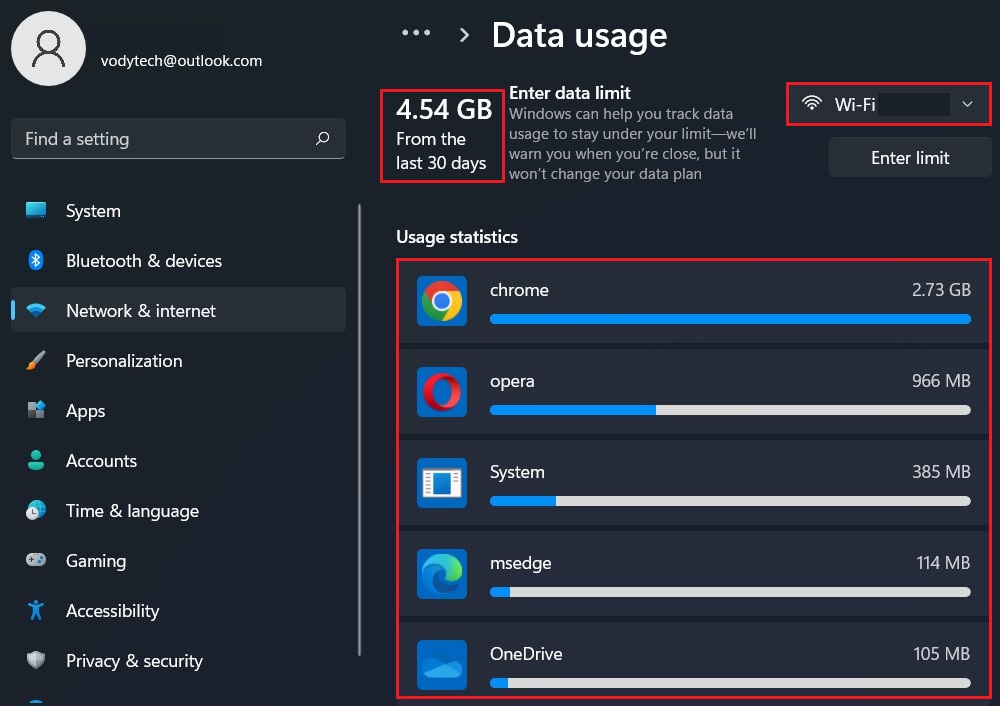
You can also set data usage limits and enable data usage warnings in the Data usage settings to keep track of your network usage more efficiently.
How to reset data usage on Windows 11
To reset data usage on Windows 11, you can follow these steps:
- Open Settings, you can press the Windows key + I on your keyboard to directly open the Settings app.
- In the Settings window, click on “Network & internet” from the list of available options.
- Click the Advanced network settings page on the right side.
- Under the “More settings” section, select the Data usage setting.
- Once you’ve selected the network, you’ll see an overview of the data usage for that network. To reset the data usage, click on the Reset button.

- A confirmation dialog box will appear asking if you want to reset the data usage. Click on the Reset button to proceed.
After following these steps, the data usage statistics for the selected network will be reset to zero, and the tracking will start again from that point forward.
How to configure data usage limit on Windows 11
To avoid exceeding your data cap or to stay within your desired usage limits, Windows 11 also allows you to set data usage limits. Follow these steps to configure data usage limits:
- Go back to the Network & Internet settings window.
- Click the Advanced network settings page on the right side.
- Under the “More settings” section, select the Data usage setting.
- Click the Enter limit button.
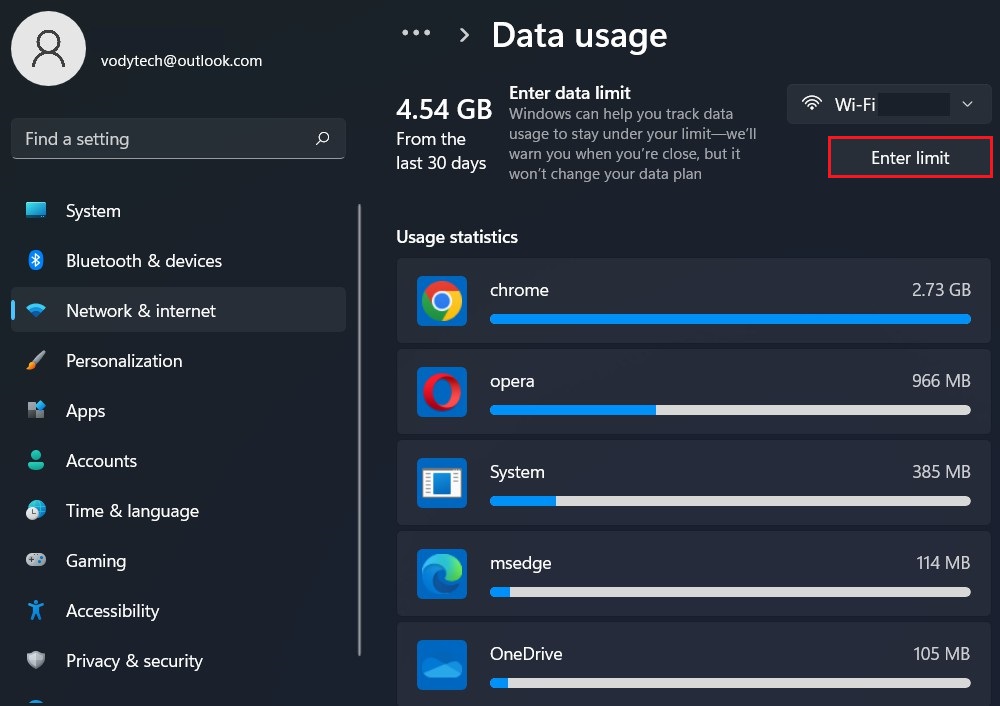
- Set the desired data limit by entering the value in the “Data limit” field. You can specify the limit in gigabytes (GB) or megabytes (MB).
- Optionally, you can also set a monthly reset date to align with your billing cycle.
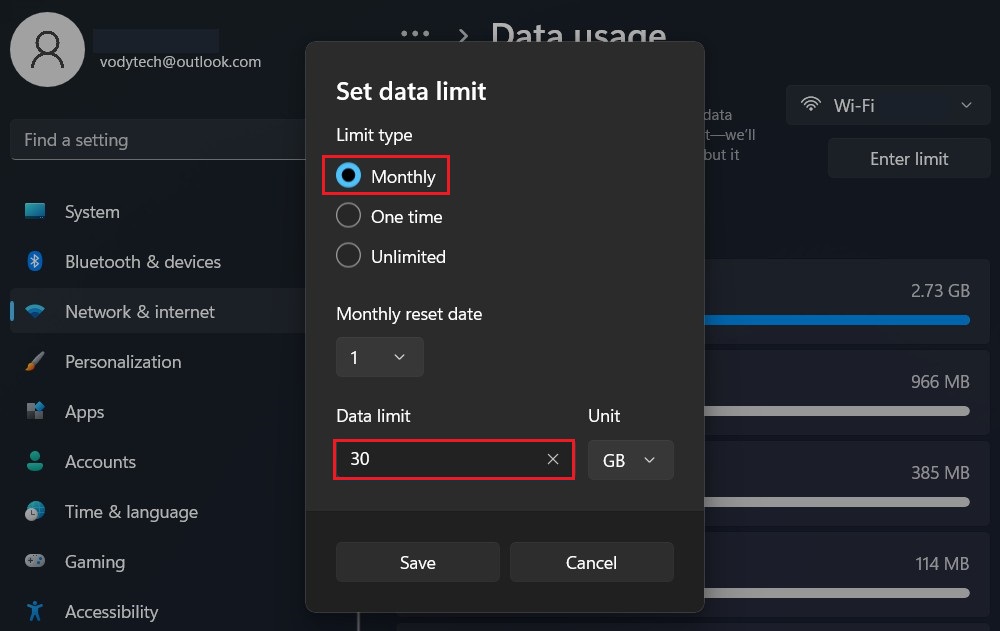
Windows 11 will notify you when you reach the specified data limit, helping you manage your usage effectively.
Read more: How to Flush the DNS Cache on Windows 11
Overall, tracking internet data usage in Windows 11 is an essential practice for staying informed about your data consumption and taking control of your internet usage. By utilizing the native tools and settings provided by the operating system, you can easily monitor, manage, and optimize your data usage for a more efficient and cost-effective internet experience.


