
PowerShell is a powerful command-line shell and scripting language developed by Microsoft, specifically designed for system administrators and IT professionals. It provides a comprehensive set of tools and commands to automate administrative tasks and manage various aspects of the Windows operating system. With the release of Windows 11, Microsoft has introduced several new features and improvements to PowerShell, making it even more efficient and robust.
Keeping your PowerShell version up to date is crucial to ensure you have access to the latest features, bug fixes, and security patches. This guide will walk you through the process of updating PowerShell on your Windows 11 system, ensuring you’re equipped with the most recent enhancements and capabilities.
In this step-by-step tutorial, we will cover the different methods available for updating PowerShell on Windows 11. Whether you prefer using the Microsoft Store, command lines, or manual installation, we’ve got you covered.
Update PowerShell from Microsoft Store
To update PowerShell on Windows 11, you can follow these steps:
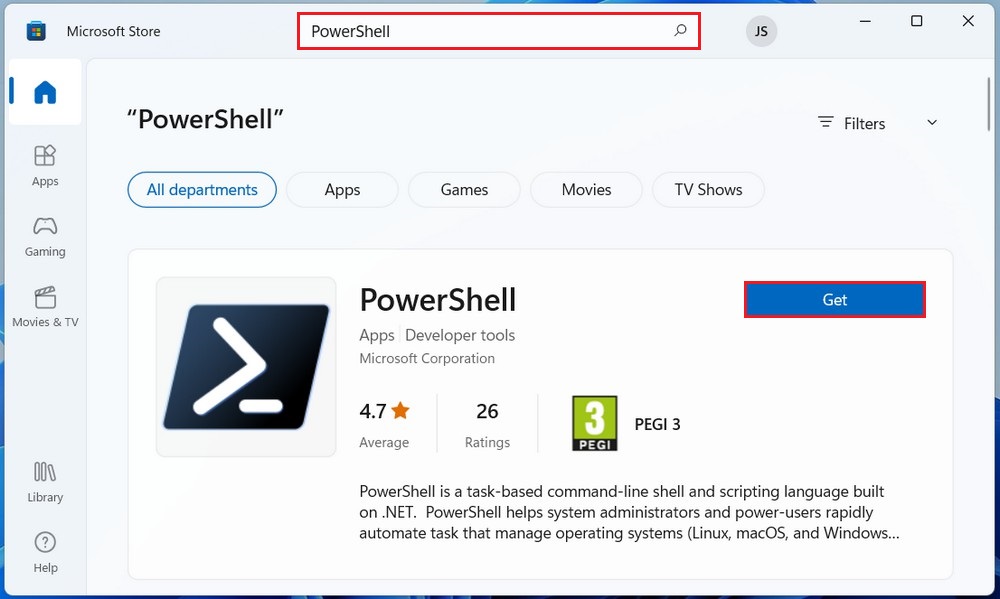
- Open the Microsoft Store.
- In the Microsoft Store, type “PowerShell” in the search bar.
- Click on the Get button to download and install the latest version of PowerShell.
Once the update is finished, you can click the Open button to start using PowerShell.
Install the Latest PowerShell Version
To update PowerShell on Windows 11, you need to download the latest version from the Microsoft website. Follow these steps to download PowerShell:
- Go to the official PowerShell GitHub website.
- Select the appropriate installer for your system architecture (x86 or x64). Click on the installer link to download the setup file.

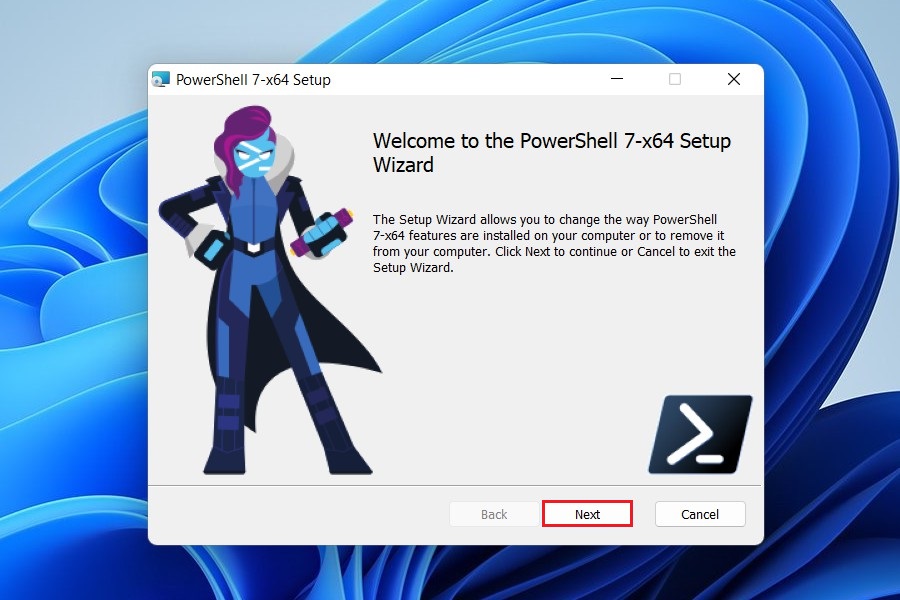
- Locate the downloaded setup file and double-click on it to start the installation process.
- In the PowerShell Setup Wizard, follow the on-screen instructions to proceed with the installation.
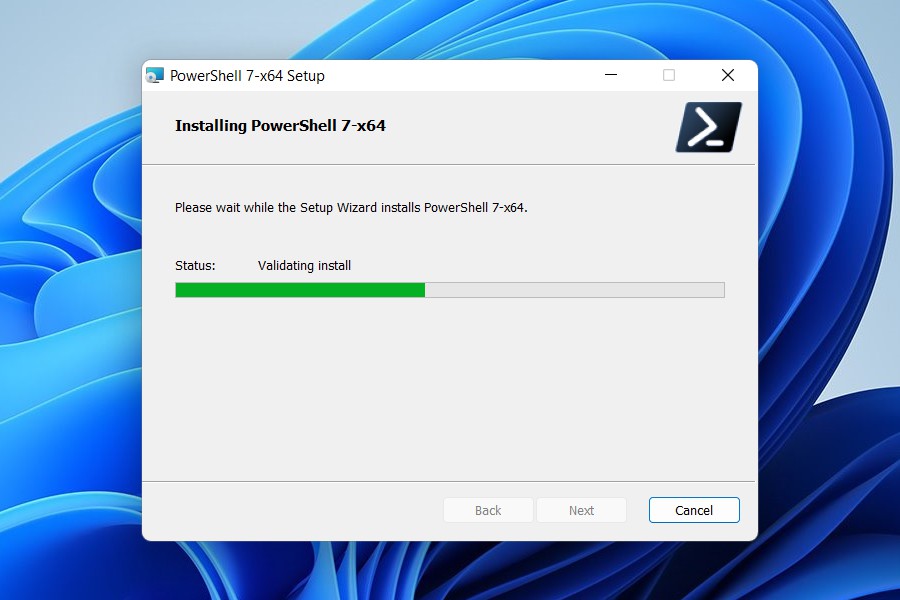
- Wait for the installation to complete.
- Once the installation is finished, click Finish to exit the setup wizard.
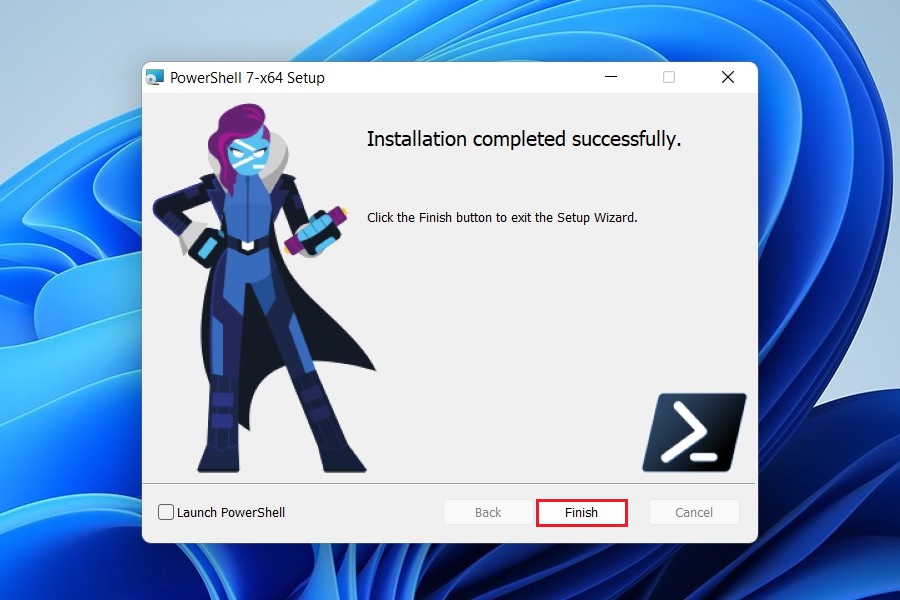
Congratulations! You have successfully updated PowerShell on your Windows 11 system. You can now take advantage of the latest features and improvements available in the updated version.
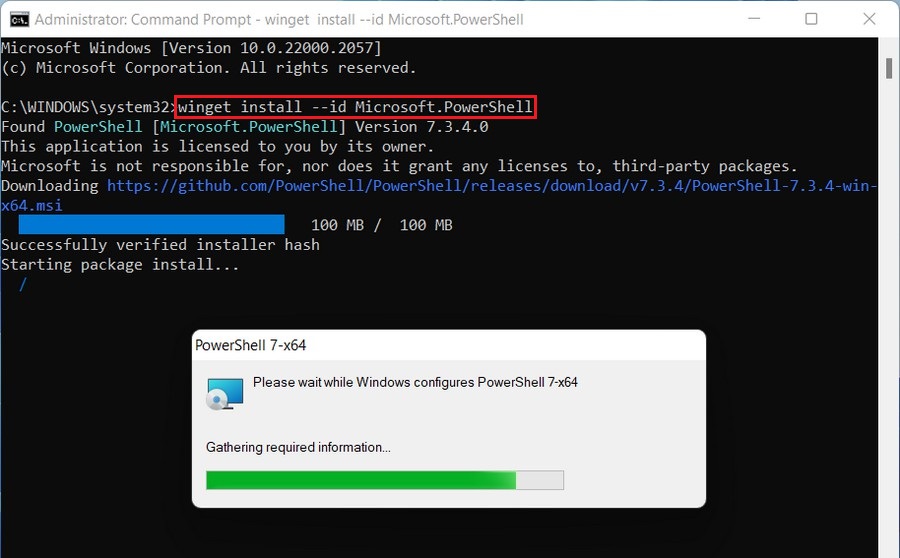
Update PowerShell from winget command
To install PowerShell using the winget command, follow these steps:
- Click on the Start button and search for “Command Prompt”.
- Right-click on Command Prompt in the search results and select Run as administrator.

- Run the following command to install PowerShell:
winget install --id Microsoft.PowerShell
This command will search for the latest version of PowerShell available from the Microsoft Store and install it on your system.
Once the installation is finished, you should have PowerShell installed on your system.
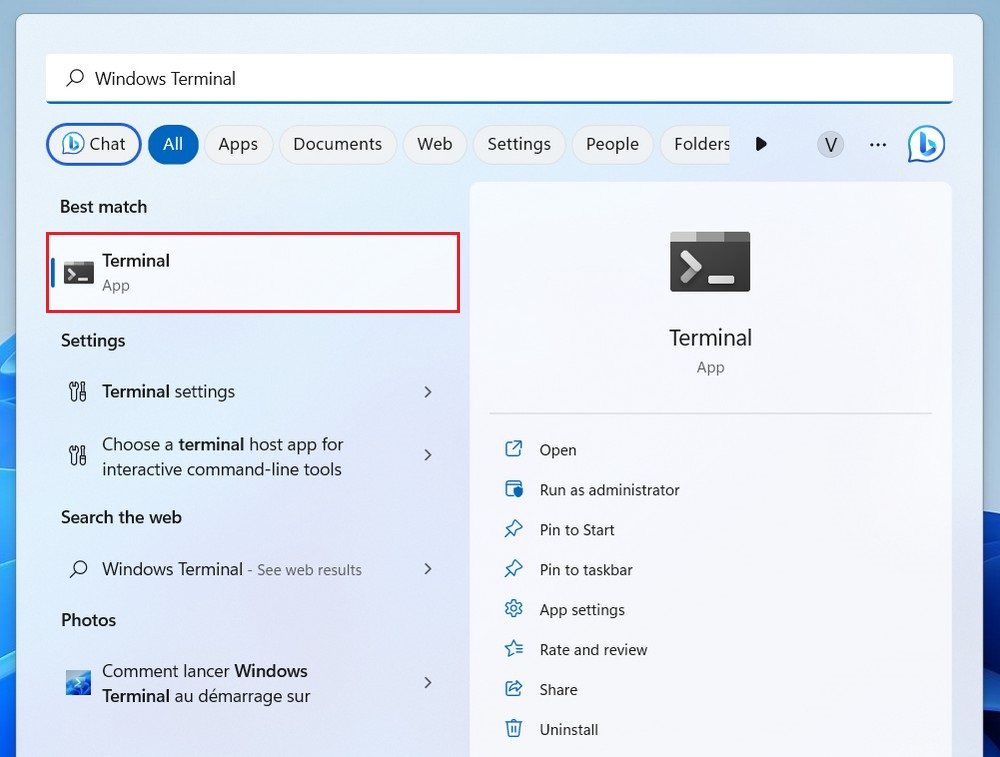
Make Powershell Your Default Terminal
To make PowerShell your default terminal in Windows, you can follow these steps:
- Open Windows Terminal by searching for it in the Start menu or by pressing Windows Key + R, typing wt, and hitting Enter.
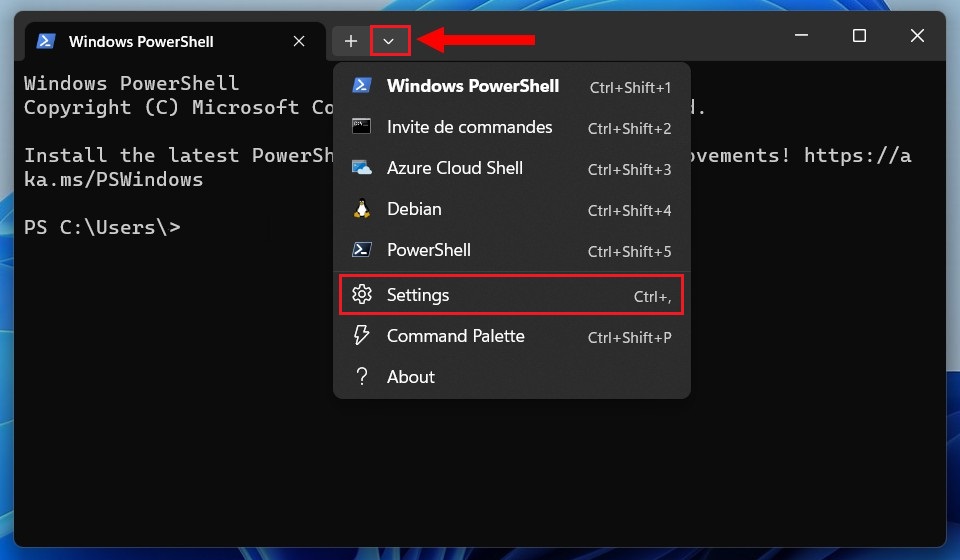
- In Windows Terminal, click on the downward-facing arrow icon located at the top-right corner of the window. This will open a drop-down menu. From the drop-down menu, select Settings.
- Under the Default profile section. Select PowerShell and click on the Save button.
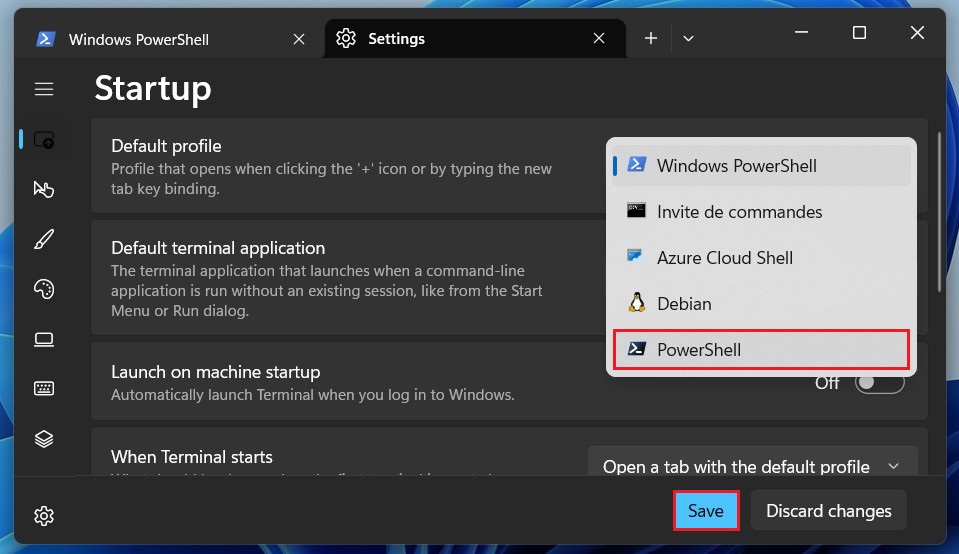
After following these steps, the selected Powershell will become the default and will be automatically launched when you open Windows Terminal.
Read more: How to Install Optional Features on Windows 11
By following these steps, you can ensure that you have the latest version of PowerShell on your Windows 11 system. Regularly checking for Windows updates can also help keep PowerShell up to date. As with any system update, it’s important to exercise caution and back up your data before making any changes.


